You are here: / Home
Tensile and compression testing

Determination of yield strength, tensile strength and elongation at break
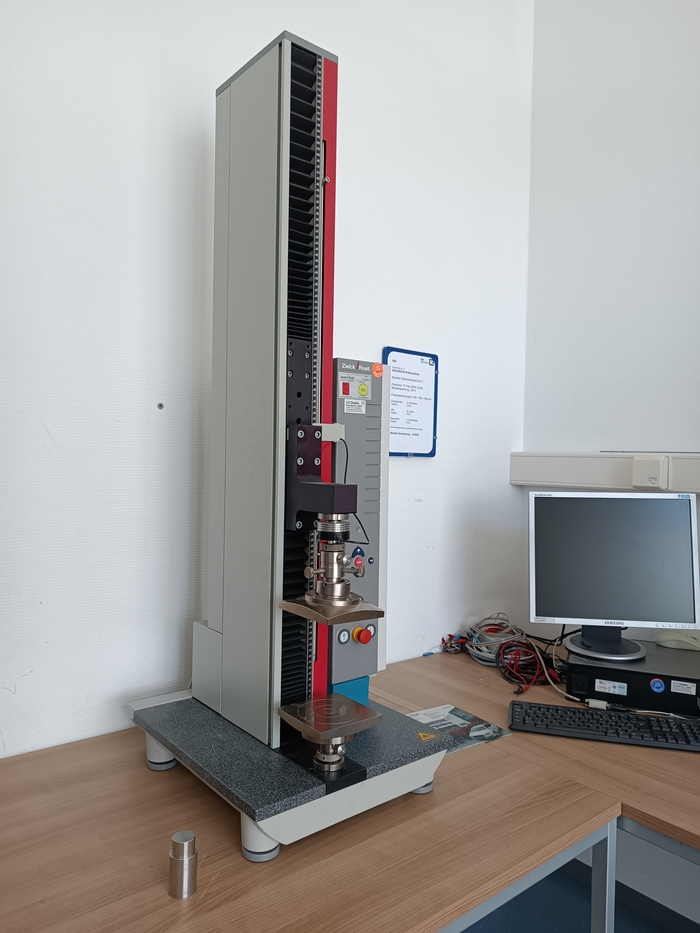
A tensile or compression test is a quasi-static, destructive test method for determining material characteristics such as yield strength, tensile strength and elongation at break. The specimen form and the procedure of such tests are standardized. The ISO 9862 standard defines the exact procedure and the measured variables to be recorded for metallic materials and the DIN 50125 standard defines the specimen shape and its production method. In addition, the arrangement can generally be used to record force-displacement curves with high accuracy.
To carry out the test, the specimens are clamped centrally in the grippers or positioned centrally between the compression plates. In the tensile test, the specimens are pulled apart in a defined manner. In the compression test, on the other hand, a compressive force is applied to the test specimen, e.g. rectangular prisms, cylinders or tubes, in a uniaxial stress state. In both tests, the force and change in length are recorded continuously and evaluated graphically. On request, the tensile and compression test can be carried out at very low temperatures.
| Parameter | Limit values samples |
|---|---|
| Materials | foils, plastics, composites, metals |
| Typical dimension of plastic samples | L×Ø: 200×10 mm (7.8"×0.4") or L×W×H: 200×10×10 mm (7.8"×0.4"×0.4") |
| Measurement range of force and displacement | ±5 kN (±1124 lbf), 400 mm (15.8") |
| Standardized testing | force-distance, force-time, tension-extension |
Your Request
Further Projects
Investigation of materials
Investigations regarding the compatibility of materials with refrigerants, oils and heat transfer fluids


