You are here: / Home
Calibration of Low Temperature Sensors

According to the comparative measurement method
Accurate and reliable measurements are the requirements for high-quality research and development or industrial production. Using the comparative measurement method the following sensors can be calibrated:
- Resistance Temperature Detectors (RTD) with positive temperature coefficient (like Platinum or Rhodium-Iron RTDs)
- RTD with negative temperature coefficient (like Germanium or Cernox™ RTDs)
- Diode and thermocouples.
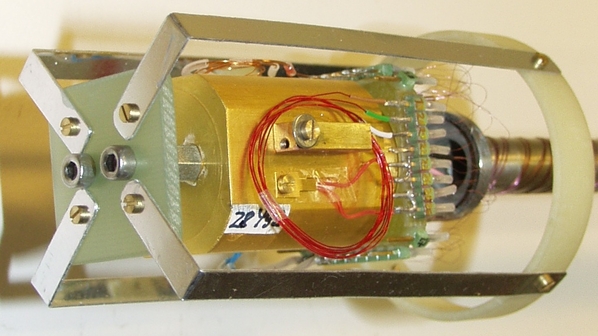
With an automatic measuring station several temperatures according to a sample point table will be adjusted. The calibration is carried out with secondary thermometers that are calibrated by an authority. Furthermore a fix point check with LHe or LN2 will be performed. In addition, a calbriated Cernox sensor is available for measurements in the low temperature range. The measuring facility allows the calibration of about 30 sensors at once. There are continuous extensions for different sensor types.
Parameter
| Indicator | Minimal | Maximal |
|---|---|---|
| Measuring range | 1.5 K | 350 K |
| Measuring accuracy | 5 mK (1.5 ... 4.2 K) | 50 mK (80 ... 350 K) |
| Sample dimension | common sensor packages | |
| Sample preparation | not necessary |
Your Request
Further Projects
Influenced melting point of water by magnetic field
Controlled sub-cooling of products in freezing processes
Investigation of materials
Investigations regarding the compatibility of materials with refrigerants, oils and heat transfer fluids


